
Belt Sizing
Trimming your anti-bummer belt to the proper length does not require any special tools. You'll only need the following:
1. something with a straight edge (ruler, square coaster, book, etc...)
2. something to mark a line on the belt where you'll be cutting it (sharp pencil or a fine-tip pen)
3. something to cut the belt (razor blade, sharp kitchen knife, or even strong sizzors)
4. something to unscrew the brass stud that holds the buckle, buckle holder, and belt together (flathead screwdriver, dime, butter knife, etc...)
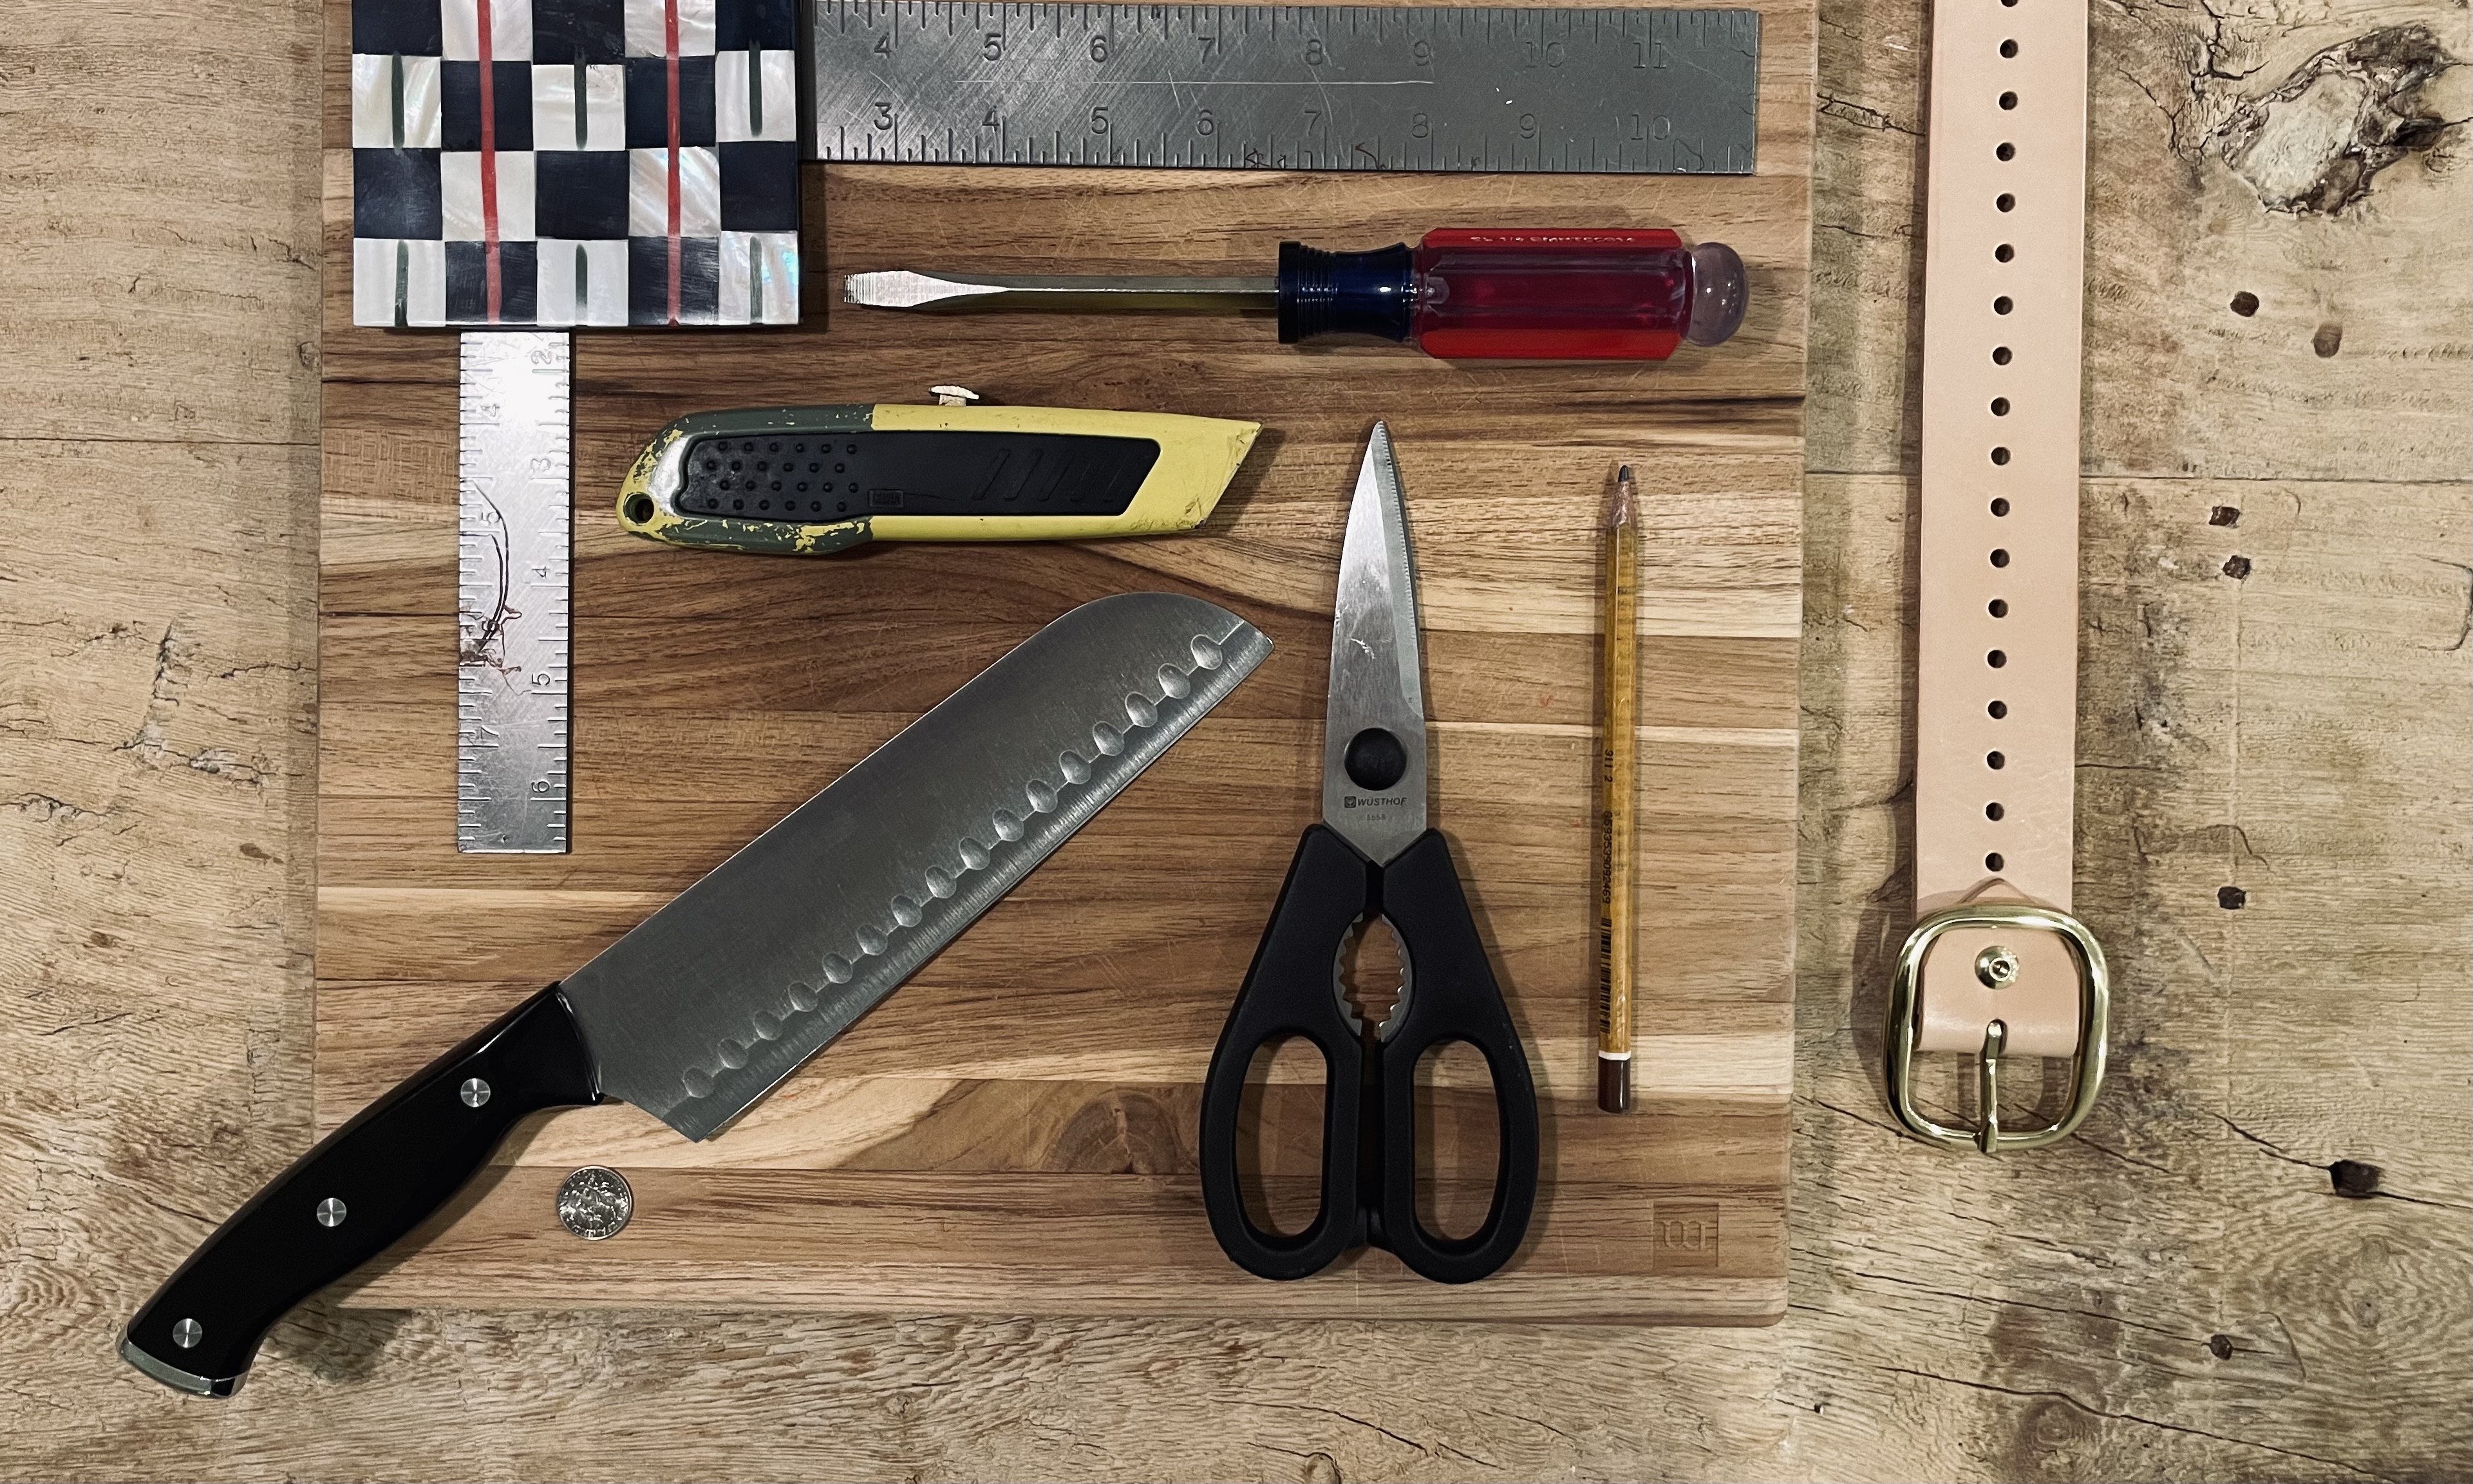
*any of these tools are acceptable
I encourage you to read through all of the instructions first and if you have any questions, please don't hesitate to reach out before starting in! ([email protected])
step one
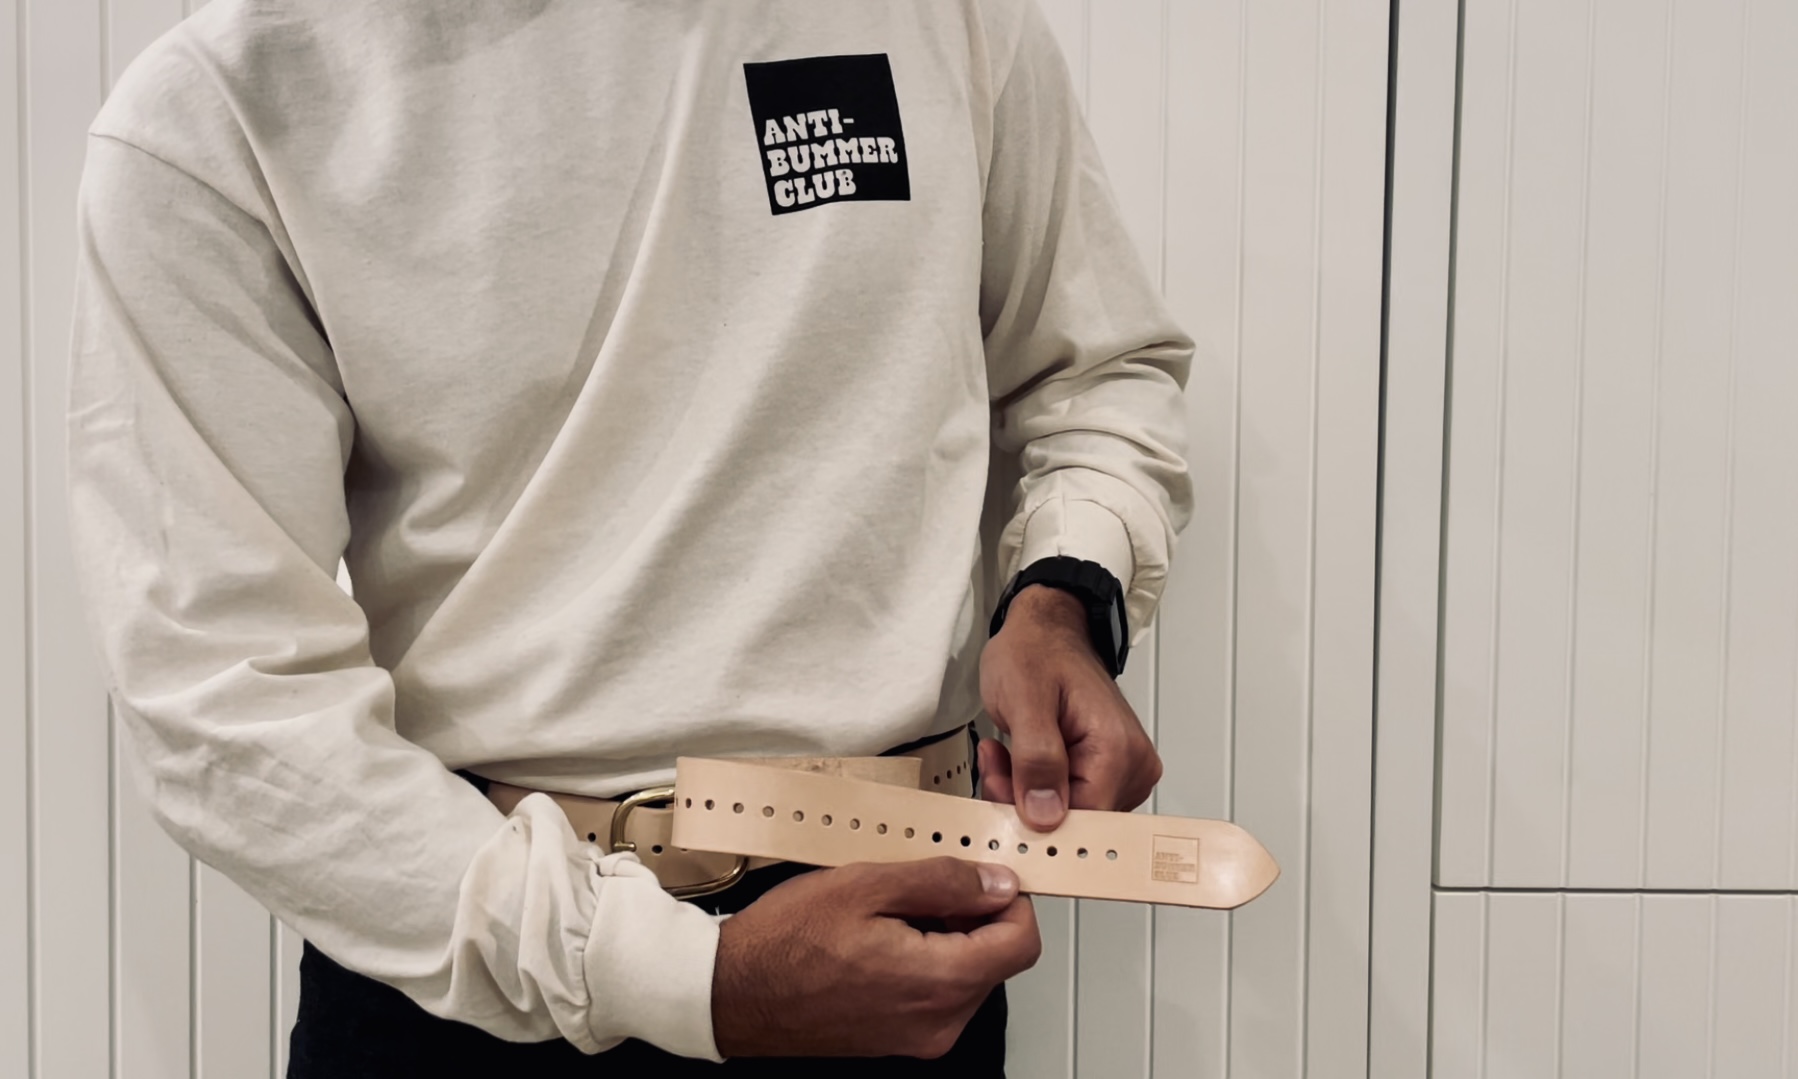
Put the belt on like you would any other belt. Anti-Bummer belts come extra long to accomodate a wide range of sizes.

step two
Count the number of belt holes between your belt loop and the anti-bummer logo on the belt tip. Keep that number in mind. It may help to write it down.
step three
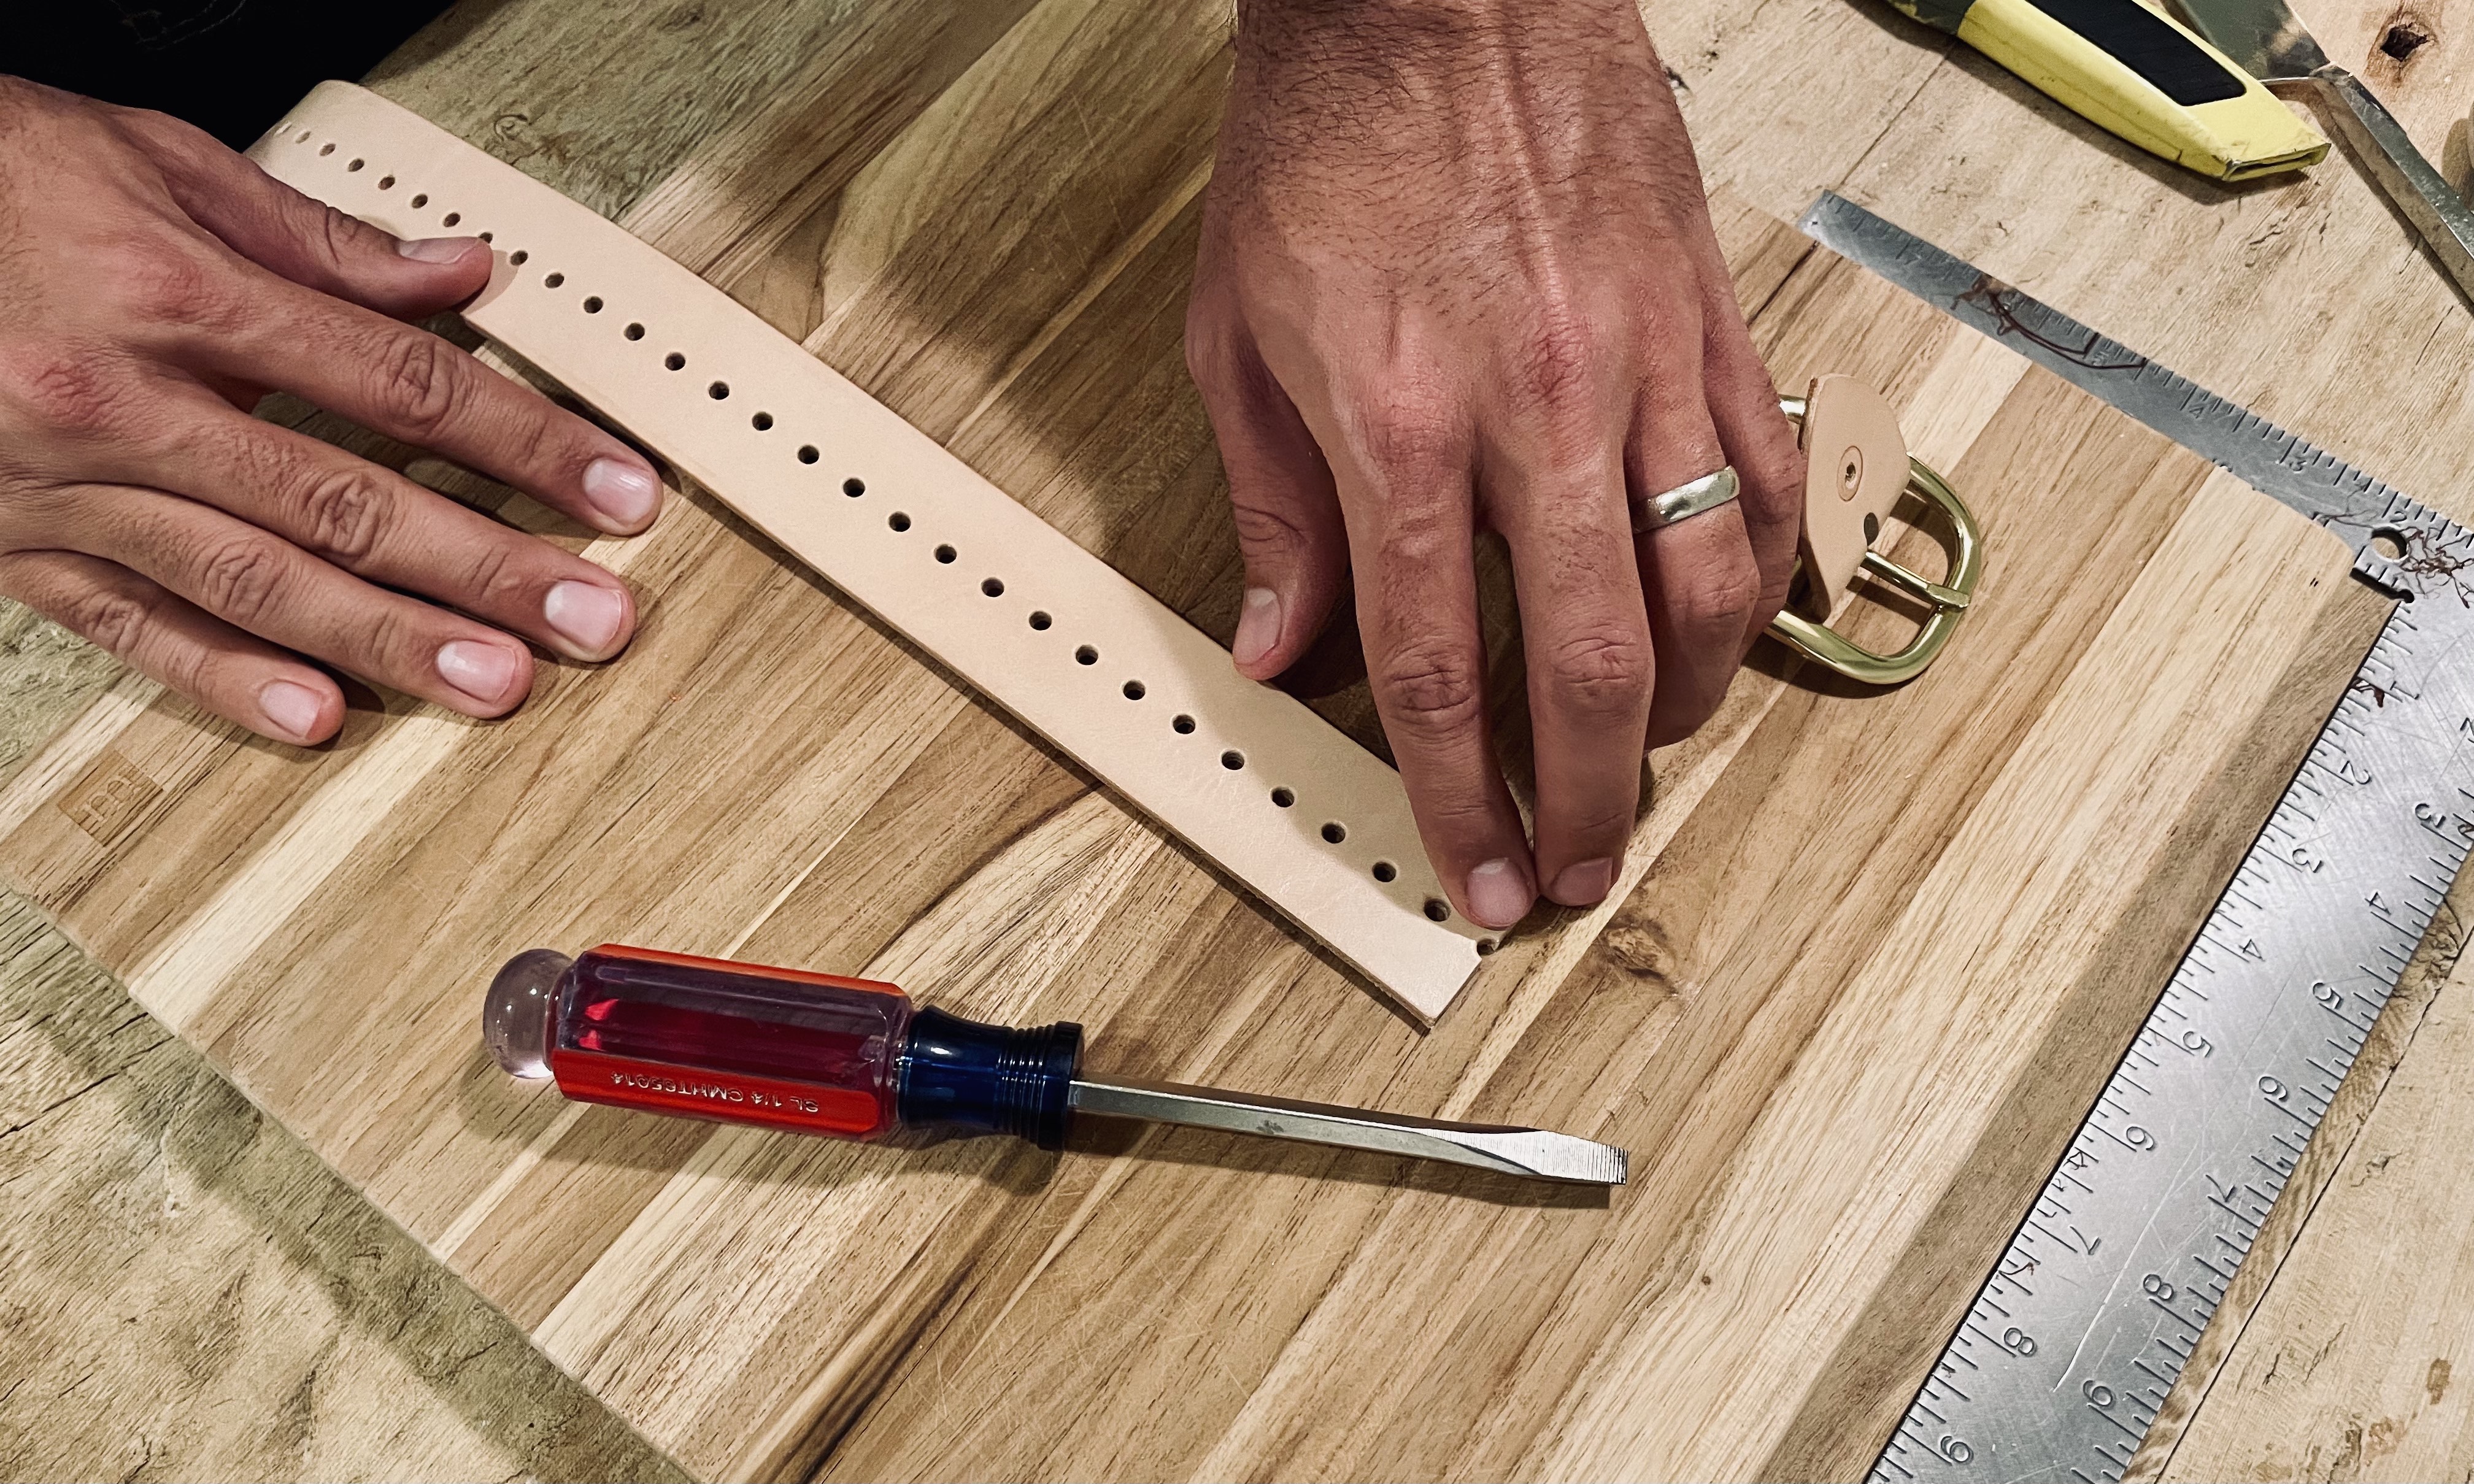
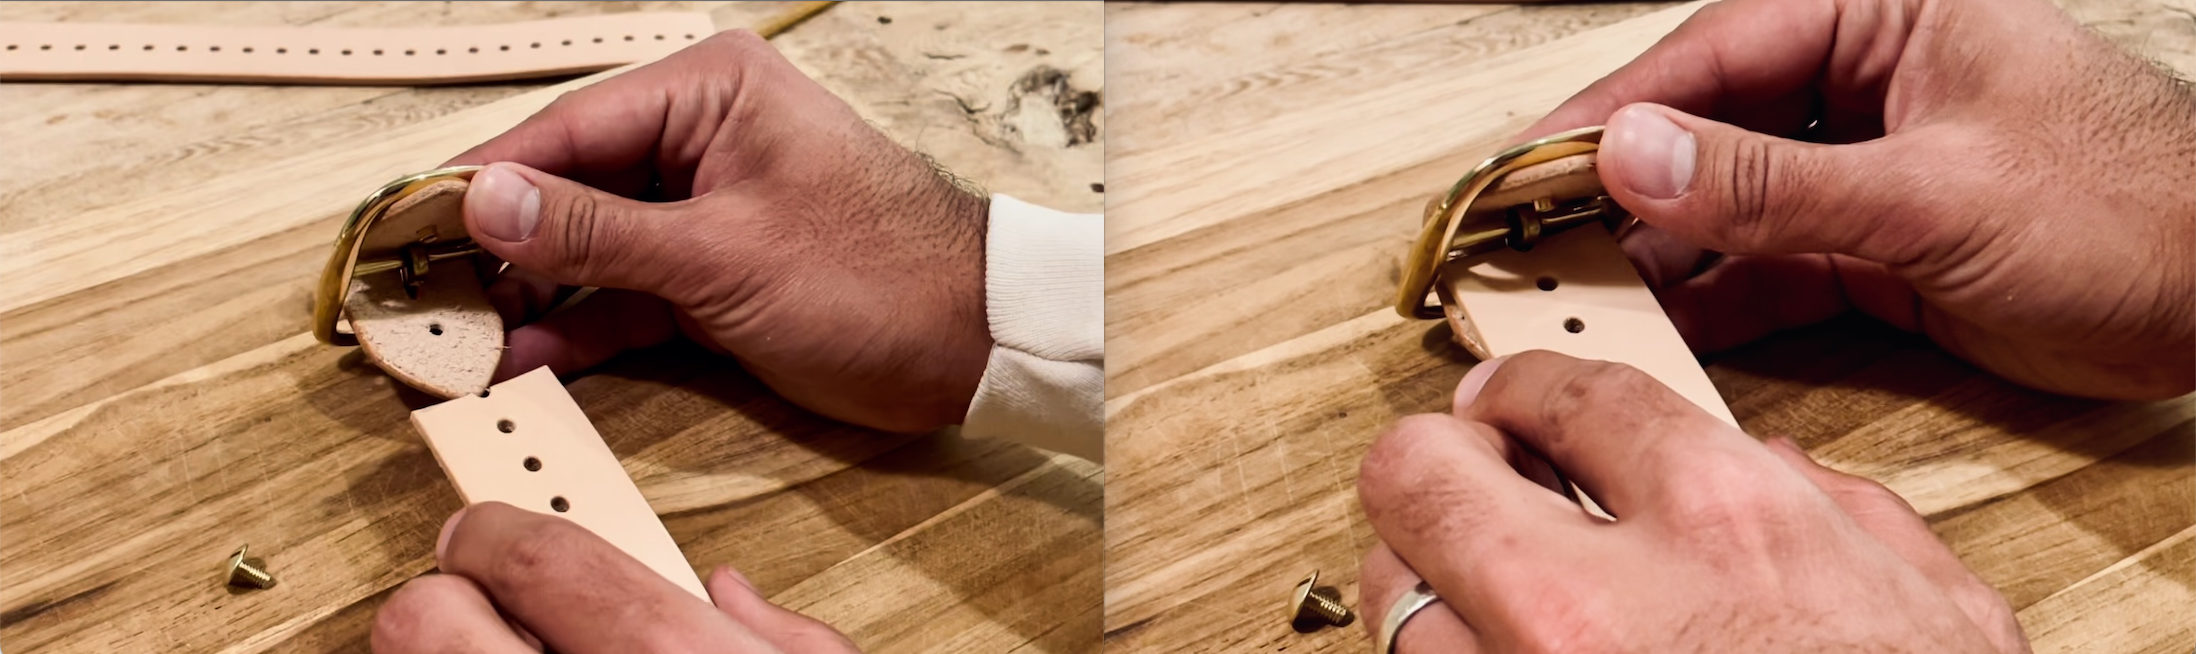
Take off your belt and unscrew the brass stud.
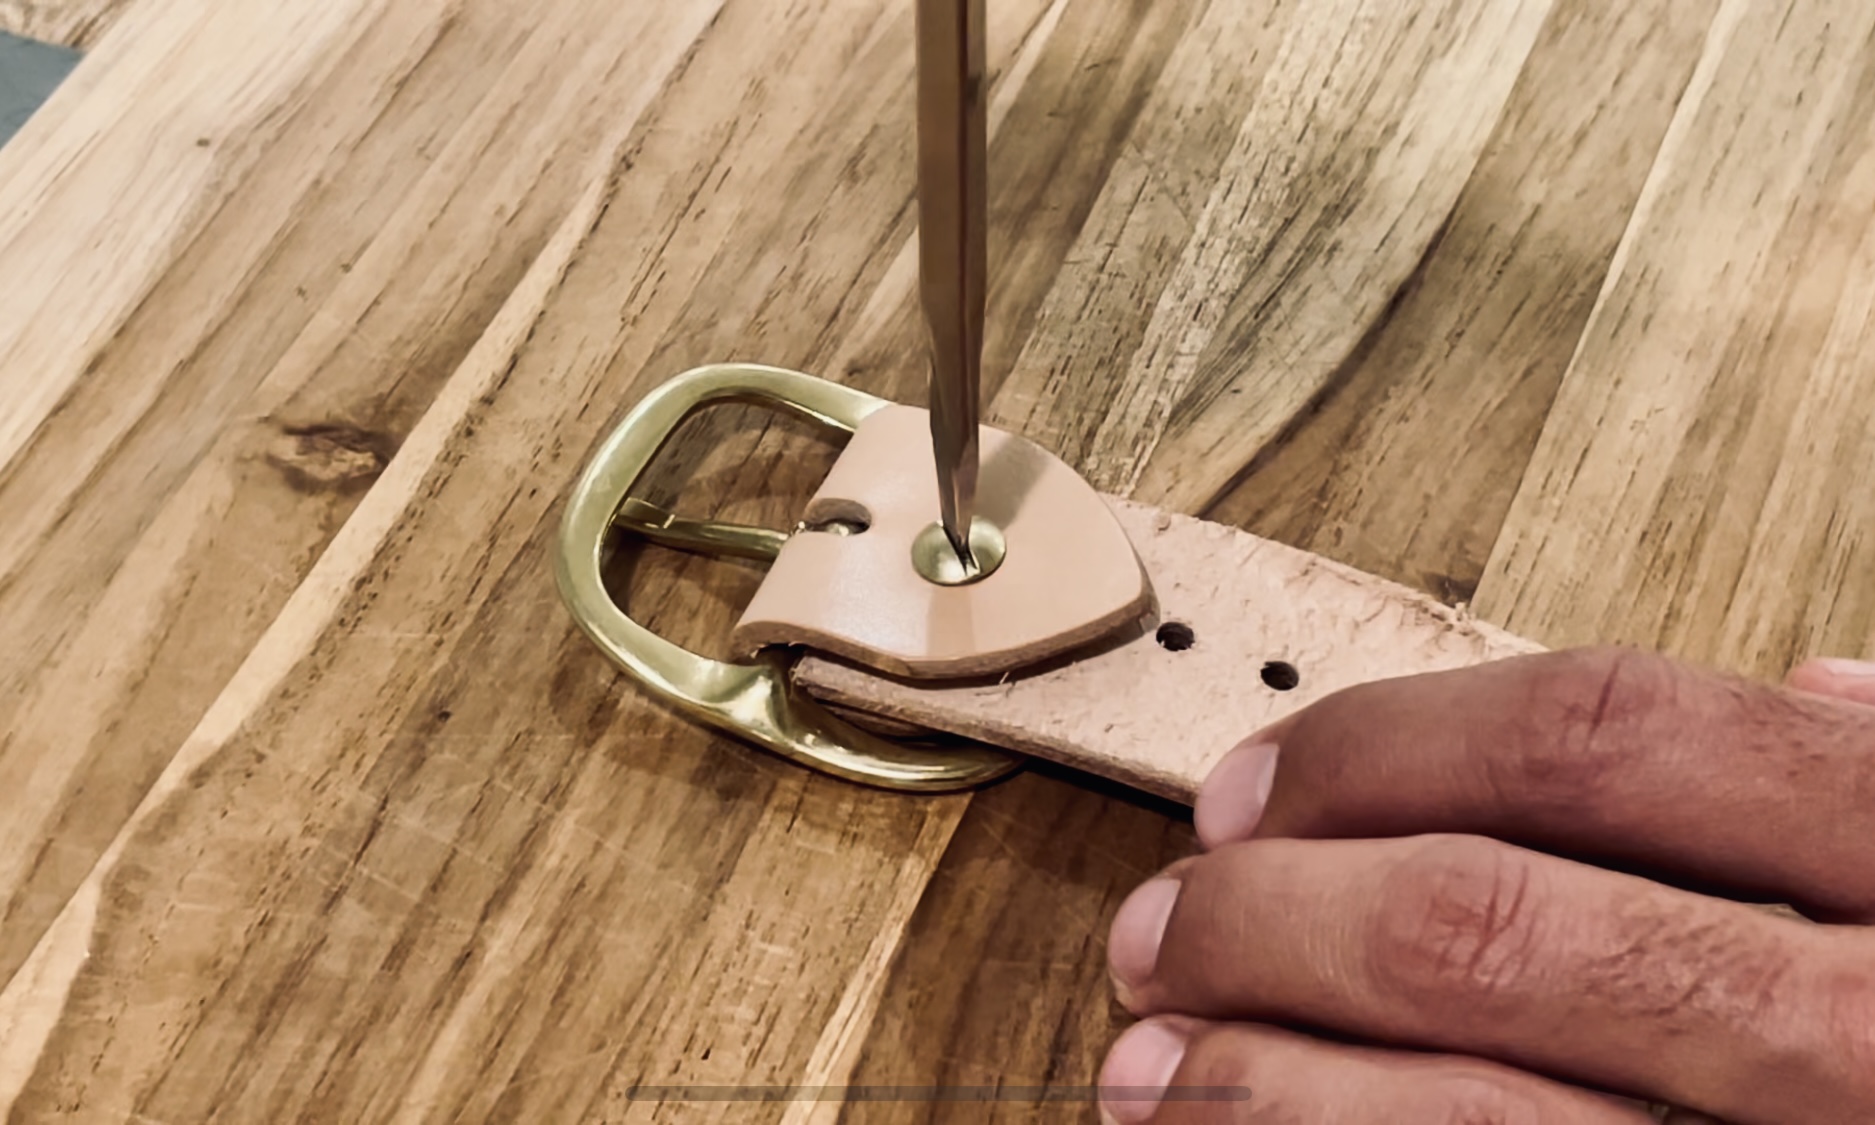
step four
Remove the buckle and all of it's parts from the belt strip. (Note how these pieces attach to the belt. They will go back on in the same way.)
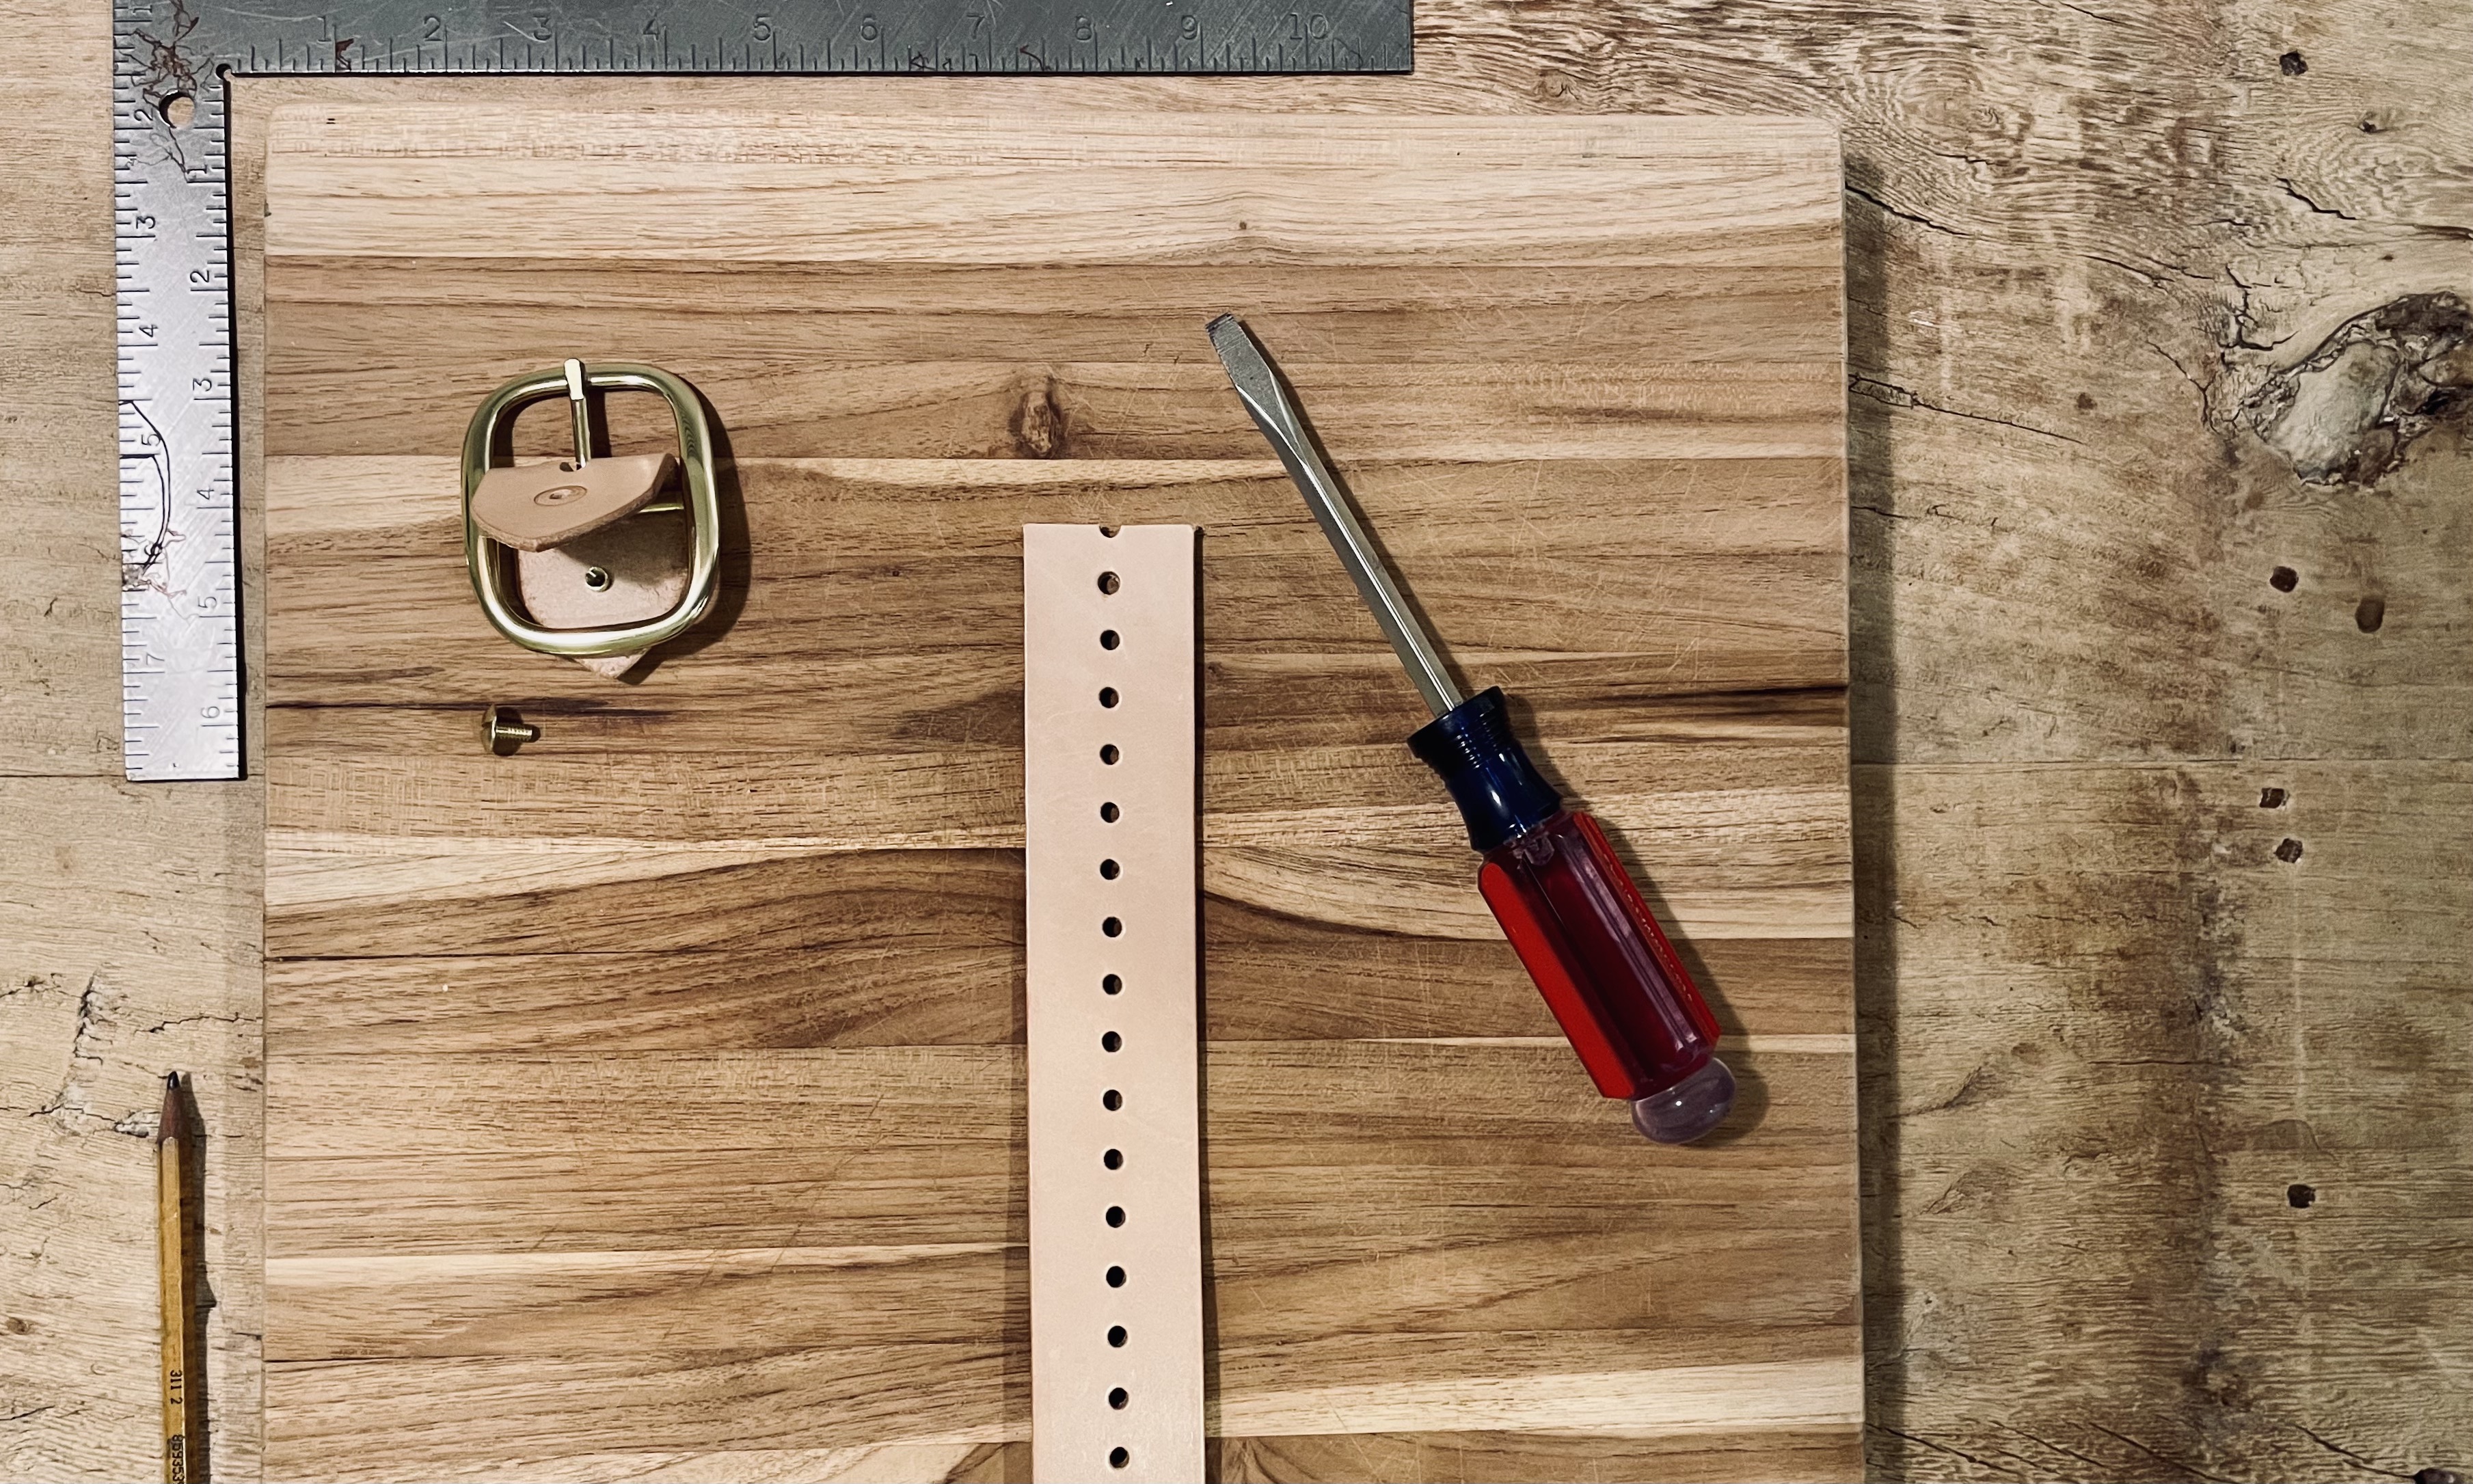
step five
Starting with the half hole at the end of the belt, count the same number of holes that you counted from the other end while wearing the belt. (If, for example, you counted 30 holes between your belt loop and the belt tip, count 30 holes starting with the half hole at the end of the belt strip.)
pause:
If you are confused at this point, please don't hesitate to reach out for guidance. ([email protected]) I want this belt to fit you perfectly. As my grandpa always told me, "measure thrice, cut once." If you feel confident, proceed to step six.
step six
Make a small mark next to the hole that corresponds with the number you counted. (A small dot with a pen or a light pencil mark is best. No need to go crazy.)
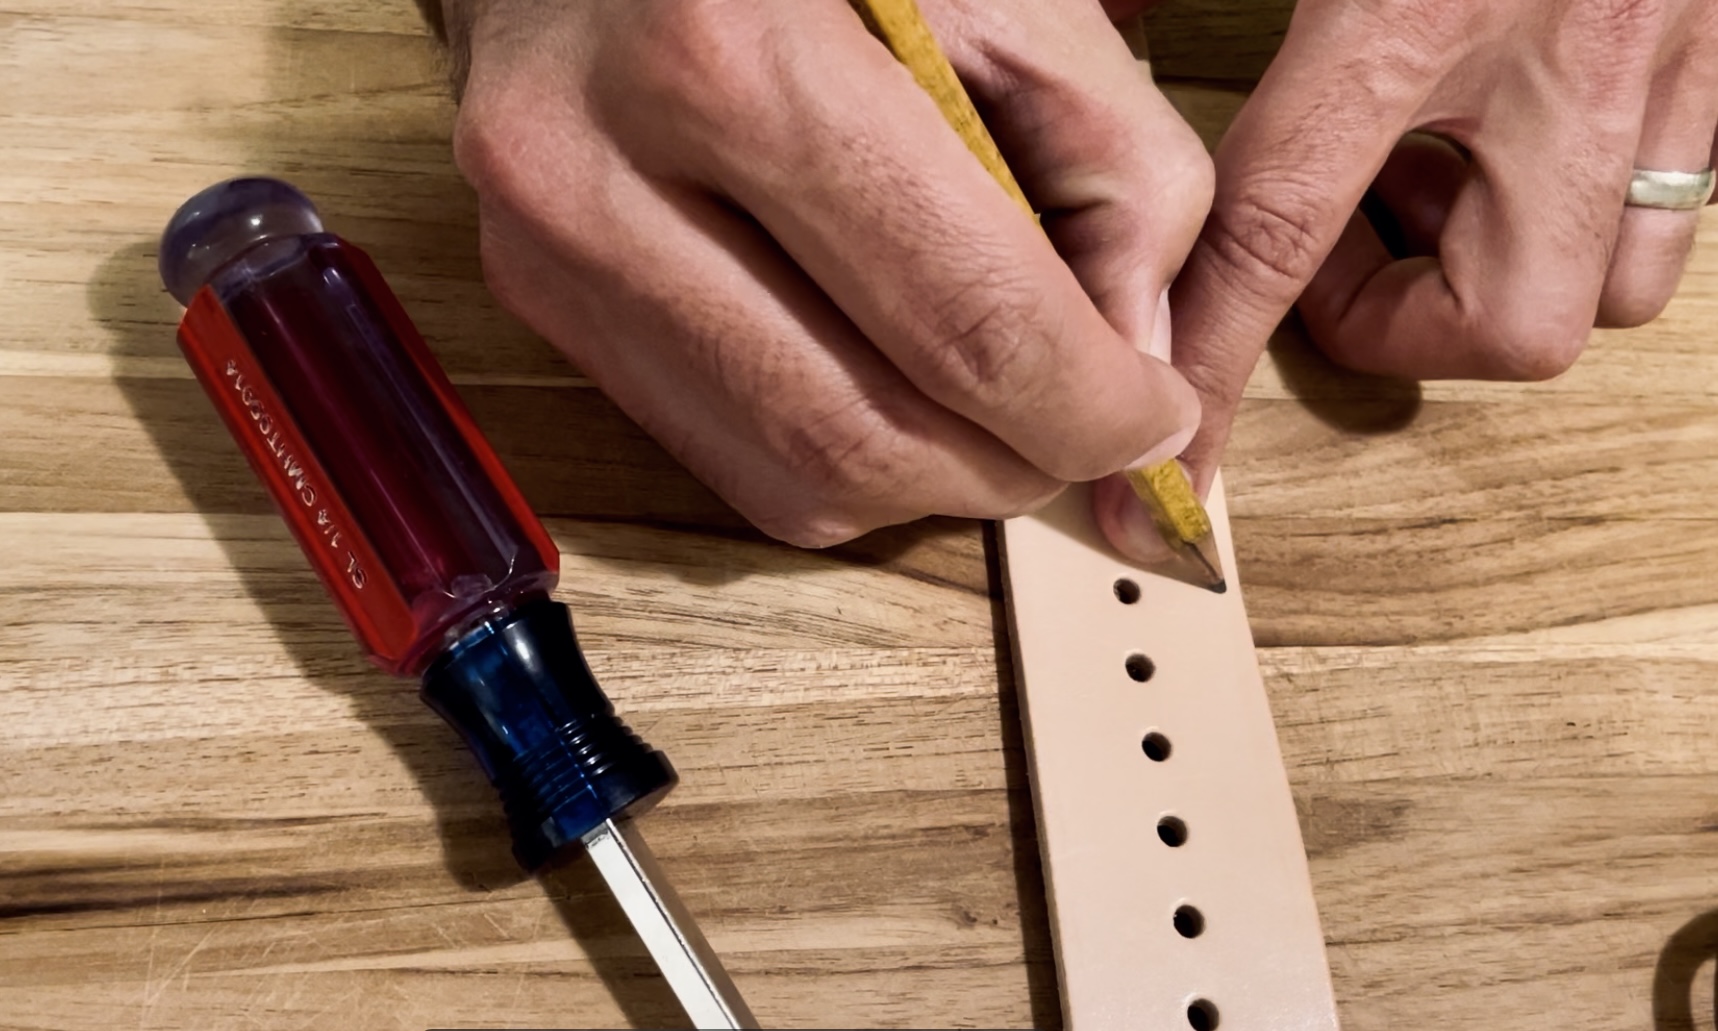
step seven
Mark a line half way through the hole that you just marked. (It's very important to cut the belt half way through the hole that you marked.)
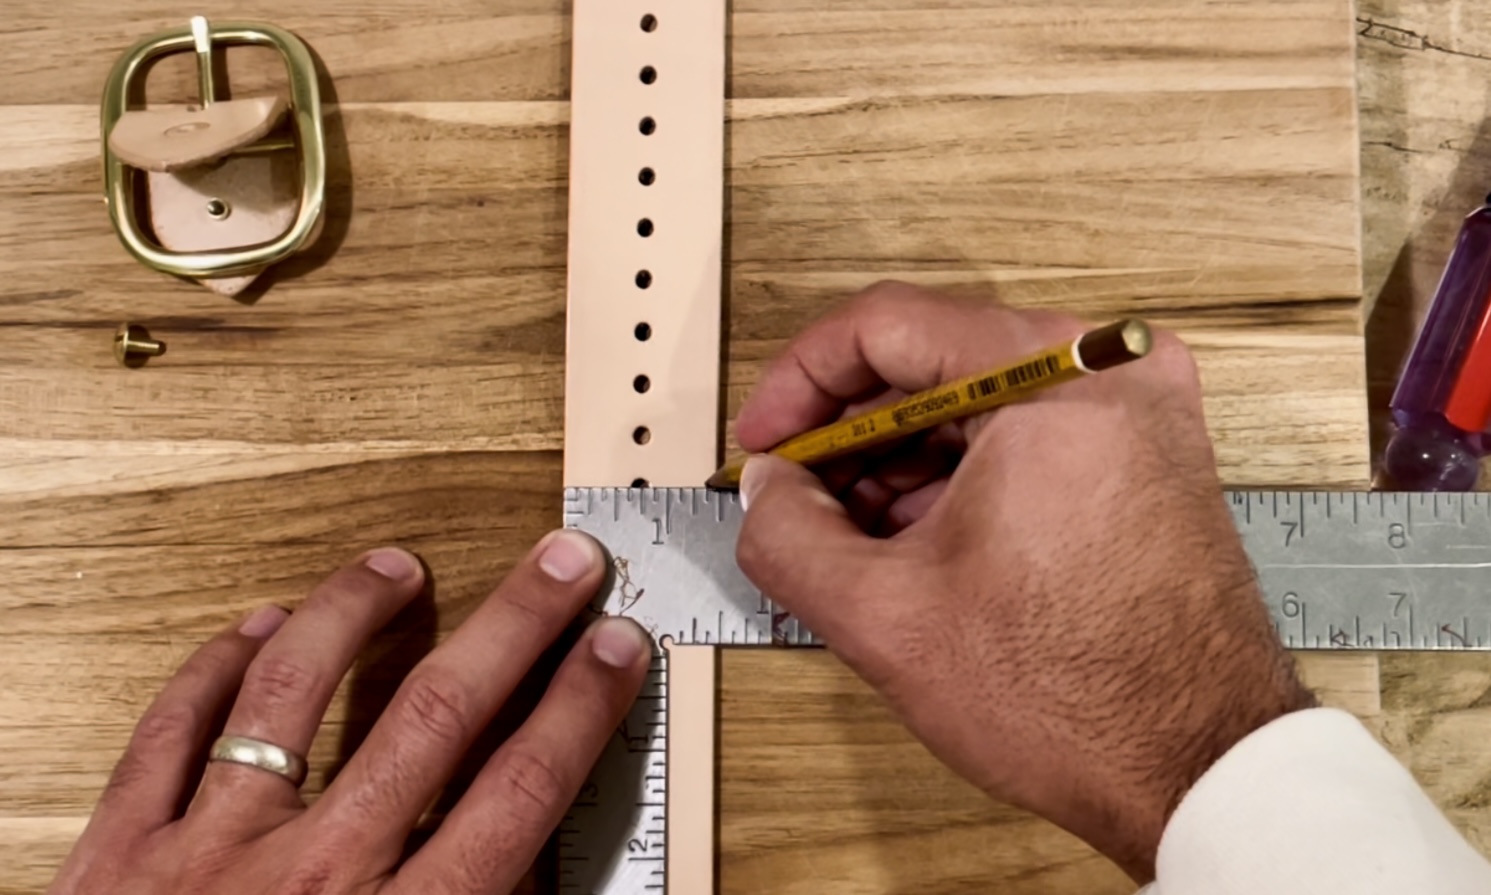
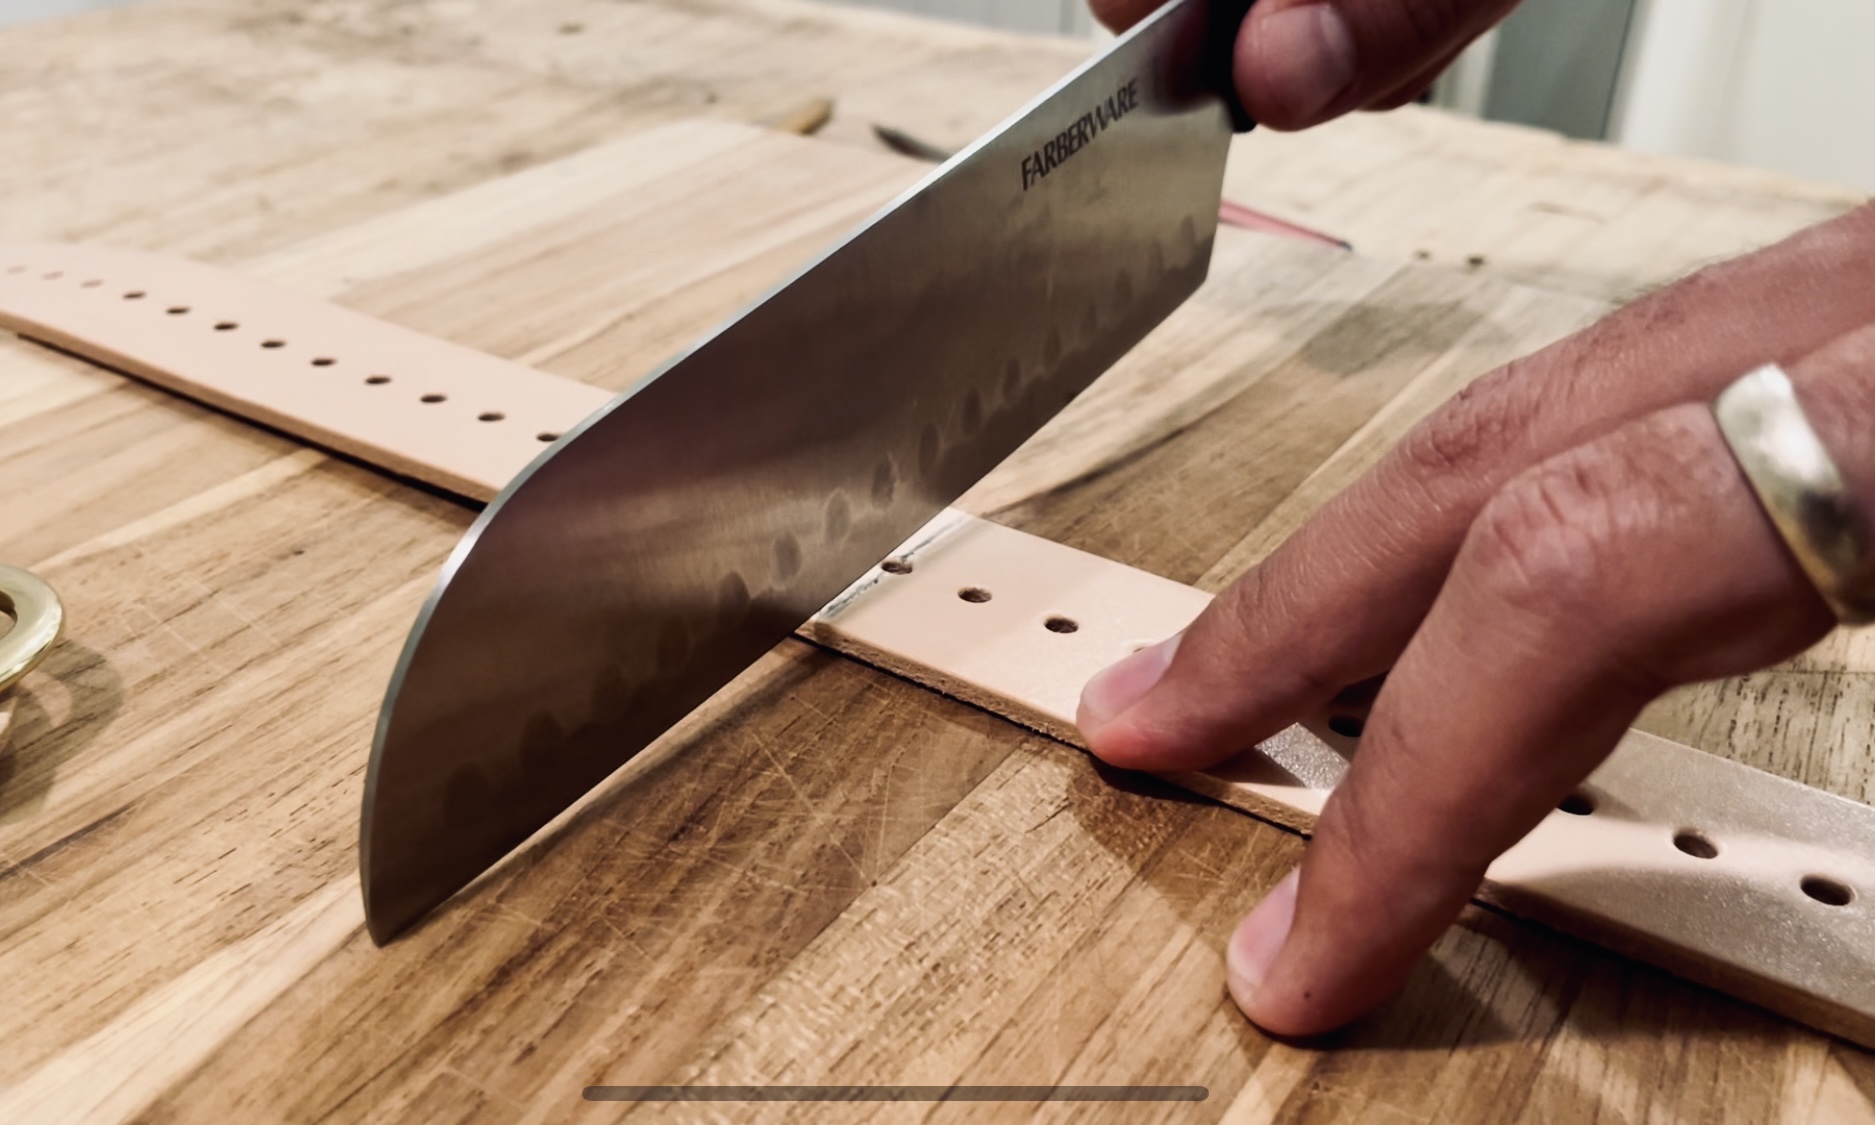
step eight
Using a knife, razor blade, etc... cut the belt strip at a straight across the line that you marked.
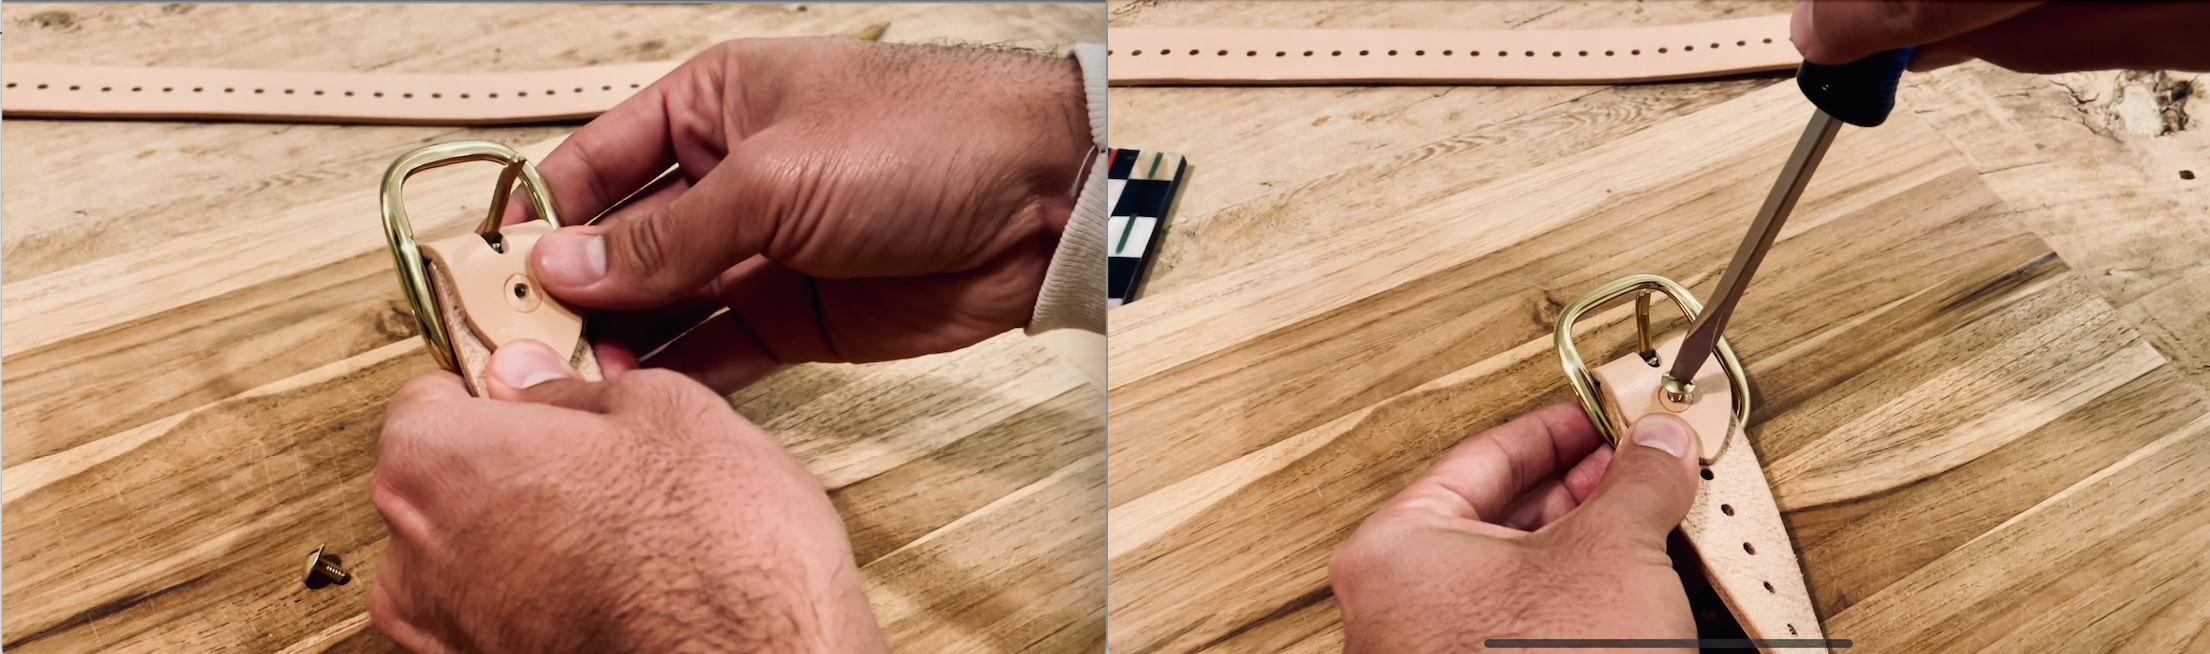
step nine
Now it's time to reassemble your belt! Fold the buckle and it's parts over the end of the newly-trimmed end of the belt strip. Refer to step three to ensure your buckle goes back on the right way.
step ten
Put your belt on and wear the hell out of it.

Note:
Your belt will stretch slightly as it breaks in. If you would like to make it a little shorter, you can always follow these steps to make it smaller. If you plan to pack on a few pounds, you can always leave your belt a little longer. (If for example you counted 30 holes, maybe only cut off 25. You can always cut more off later when you give up beer - but that should never happen.)
Remember, as my grandpa said, "measure thrice, cut once." All sales are final. If you are nervous about trimming your belt, please don't hesitate to reach out. I'll be happy to step you through the process. ([email protected])